Vehicles
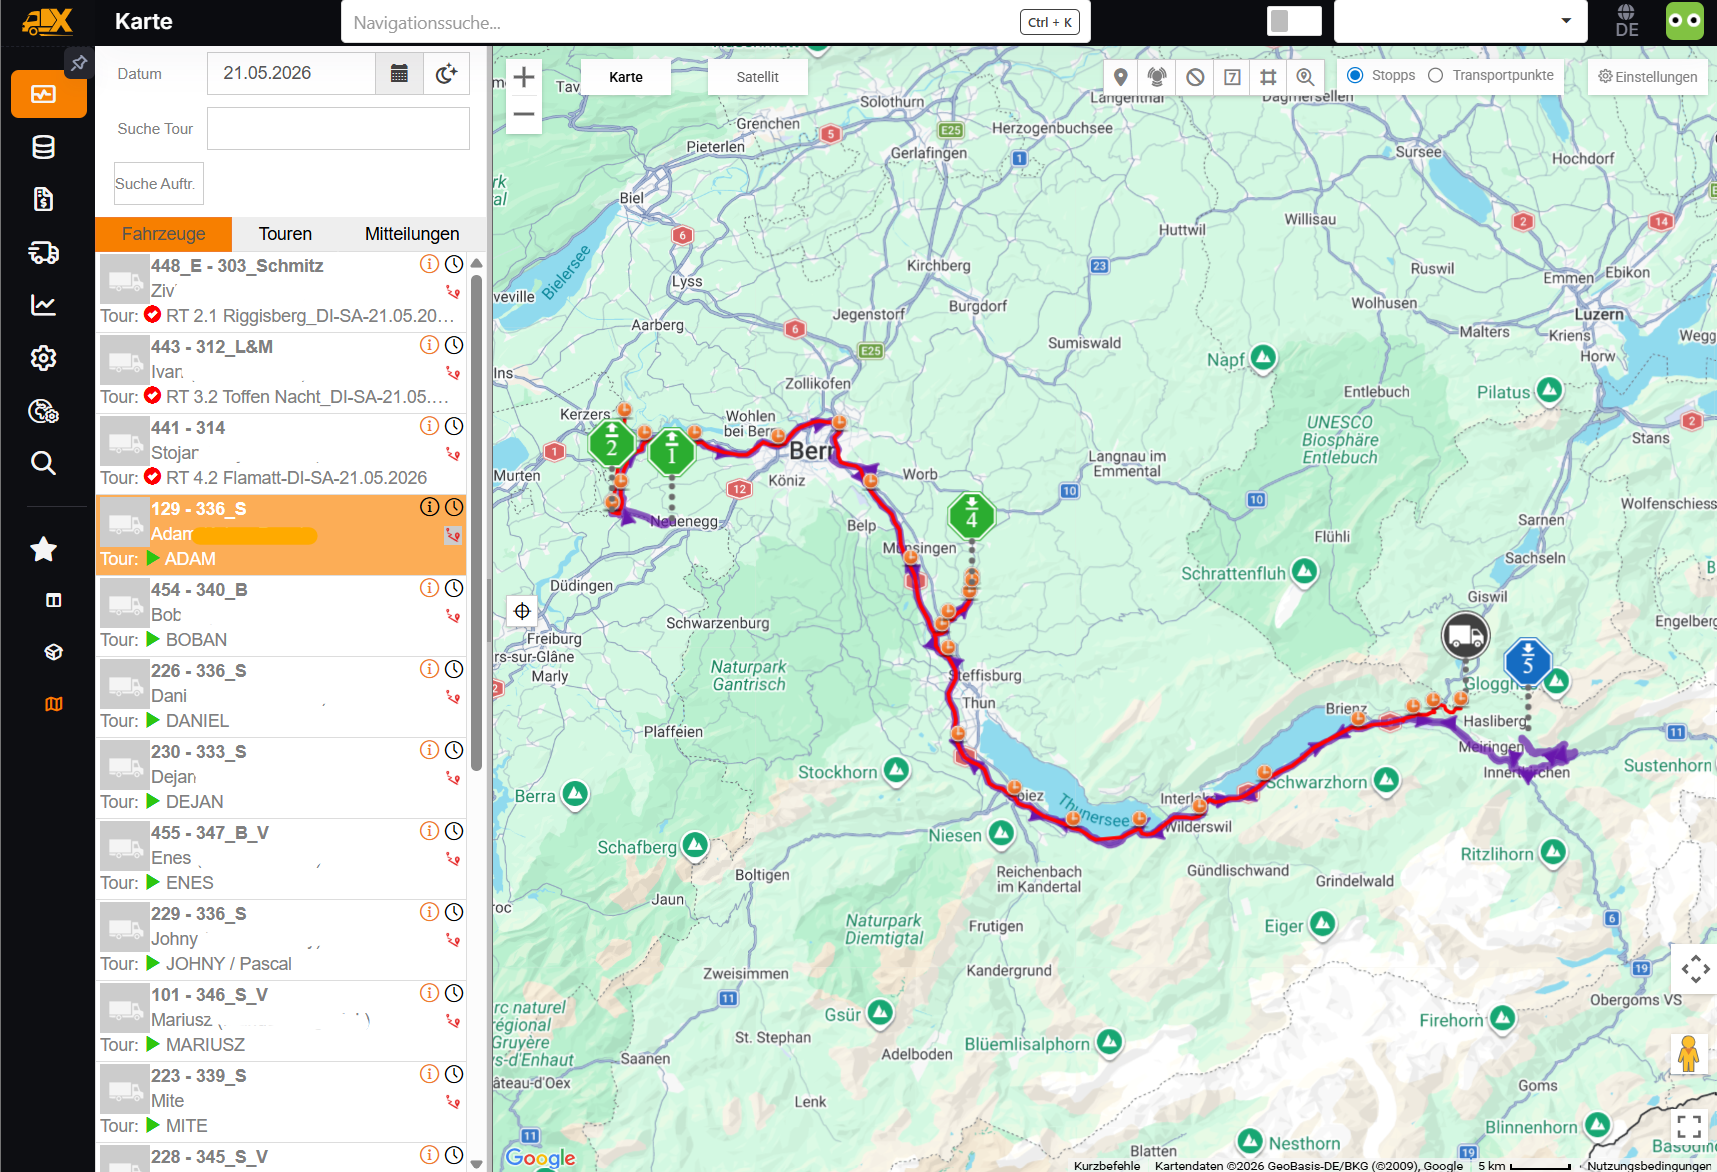
The Vehicles tab in Monitoring: vehicle list, vehicle selection and GPS trace.
For the selected date, the Vehicles tab shows one row per tour to which a vehicle is assigned. If a vehicle drives several tours, it appears several times in the list accordingly. Tours without a vehicle are not displayed. The rows are sorted by tour status and then by tour name.
List Contents
The following information is displayed per row:
- Vehicle photo (if stored, otherwise a vehicle icon) with a coloured dot for the tour status
- Vehicle name and license plate
- Driver of this tour
- Tour (tour name)
- Warning icon if an unloading failed or a special event was reported
- Progress or status indicator of the tour
- Specialities icons (maximum eight)
Selecting a Vehicle
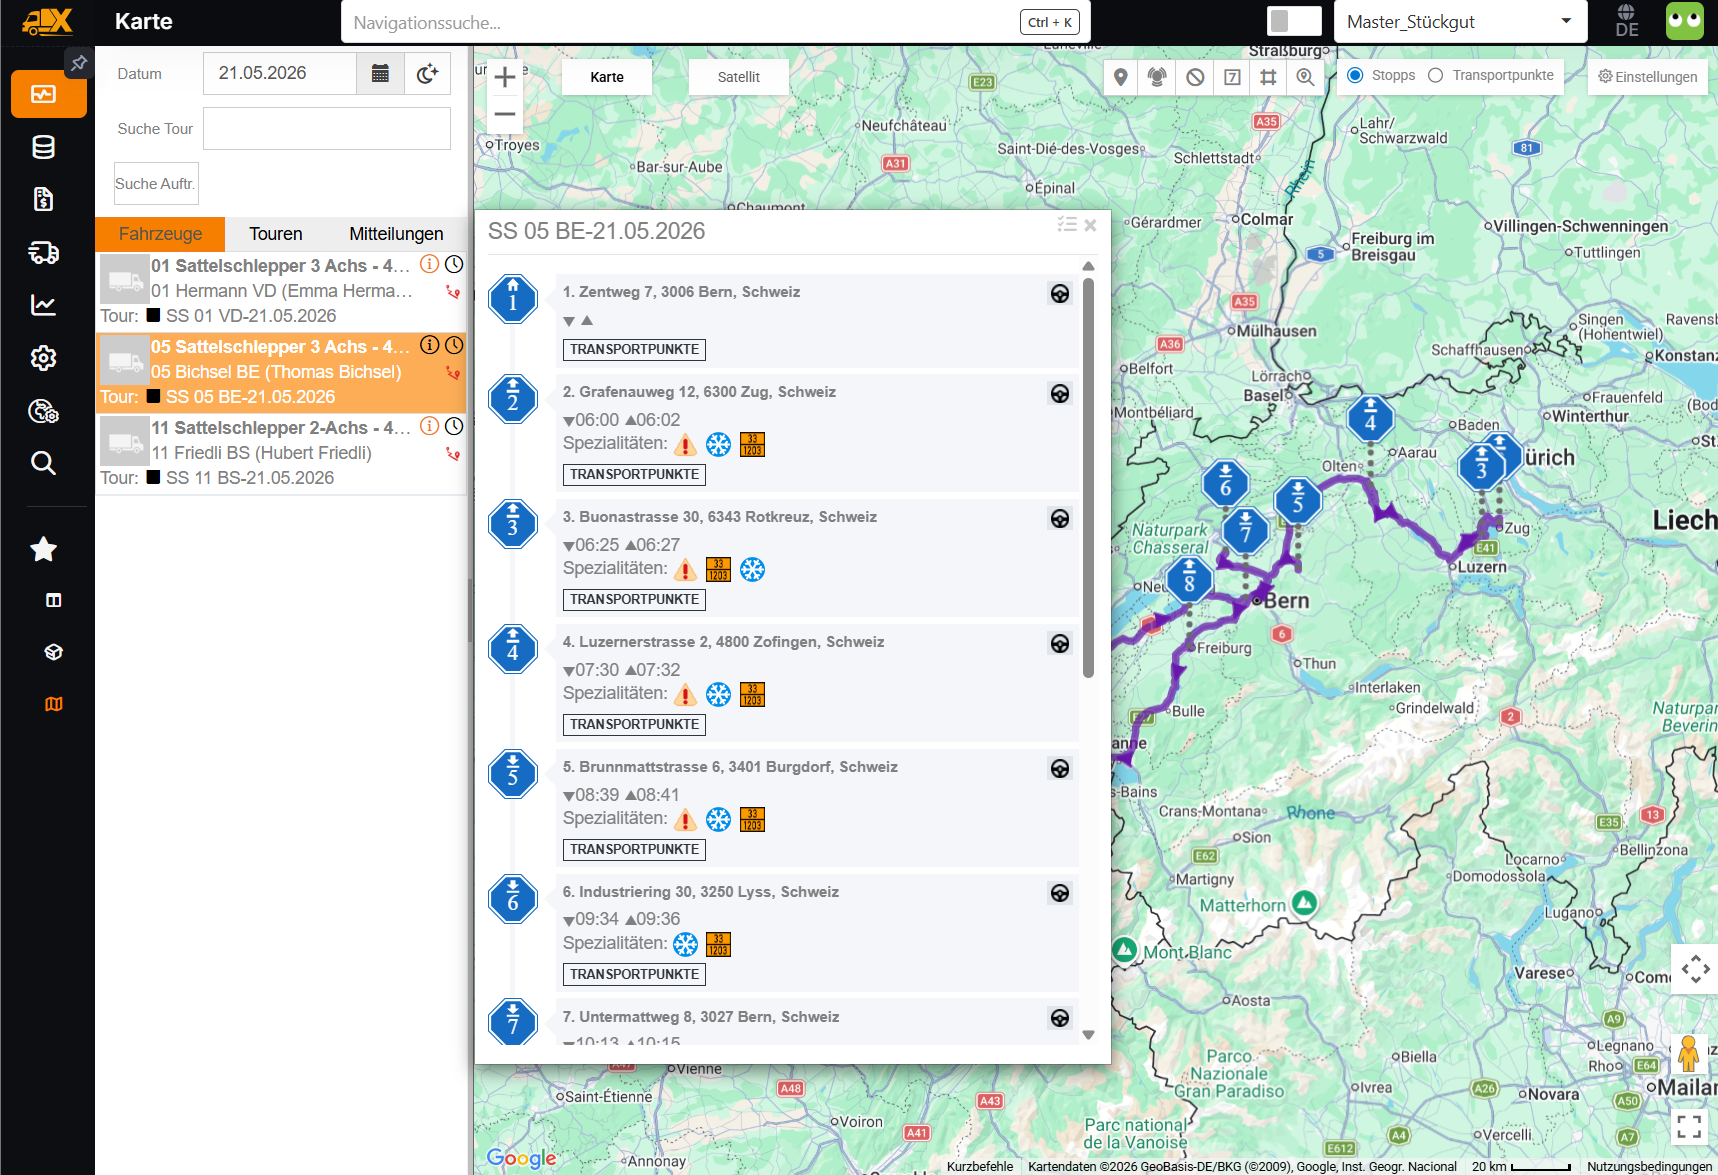
Clicking on a row selects the corresponding tour. The map then only shows this tour with its stops and its route and adjusts the view to the tour. The detail panel of the tour opens at the same time.
Detail Panel
The detail panel is the same as in the Tours tab. Among other things, it contains the actions Message, Tour check, Driving time, Trace, Center and Checklists.
Vehicle Info Card
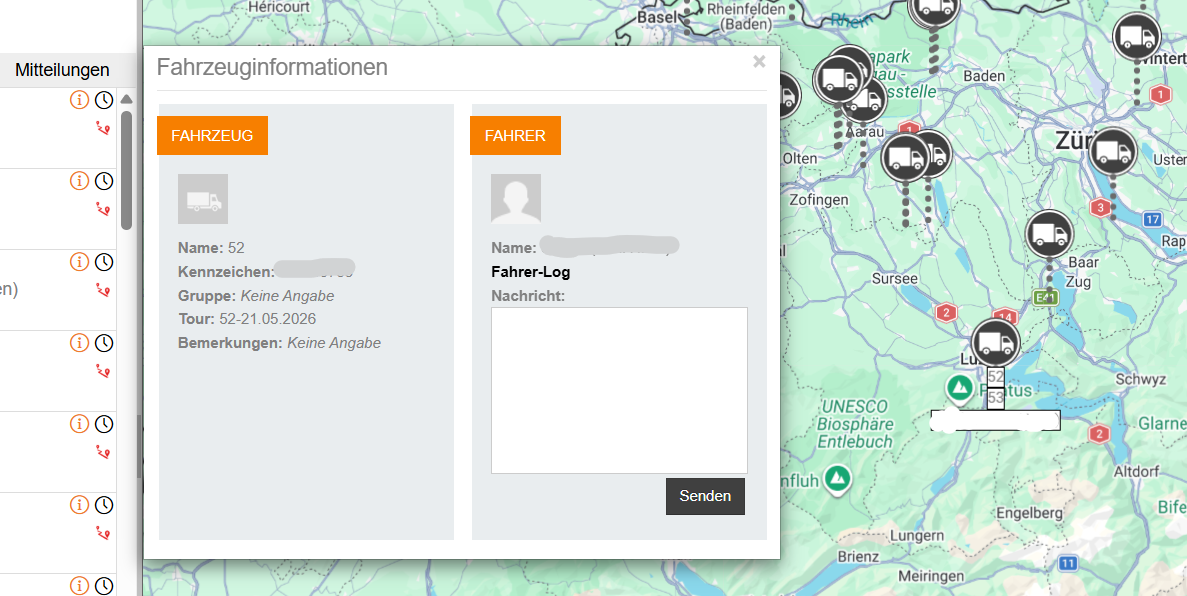
Clicking on a vehicle on the map opens an info card with the following details:
- License Plate
- Trailer
- Driver (full name and user name)
- Tour
- Notes
If a detail is missing, Not specified is shown. The Message button opens the chat with the driver already mentioned. The button only appears for users with chat permission and only if the driver has a user account.
GPS Trace
Use the Trace action in the detail panel of the tour to activate the GPS trace. The recorded GPS path of the vehicle is drawn as a line on the map. This allows you to see the actual route the vehicle took. While the trace is displayed, the planned tour route is hidden. Clicking Trace again hides the trace, and the map adjusts the view to the tour again. The trace is also hidden when you switch to another tour or clear the selection.